Projection of a Point -- VektorCAD Tutorial
This exercise guides you through drawing the orthographic projections of a single point using VektorCAD. You will draw the XY reference line, place a point above HP and in front of VP, add the projector, and dimension the distances.
What you'll learn
- Drawing the XY reference line
- Setting UCS origin for measurement reference
- Placing front view (p') and top view (p) using coordinates
- Dimensioning distances from the XY line
Problem Statement
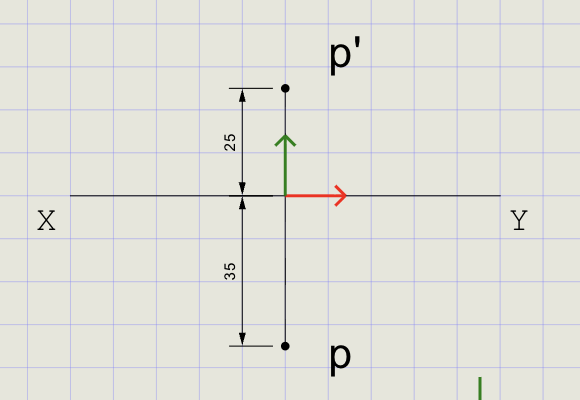
Draw the projections of a point P located 25 mm above the Horizontal Plane (HP) and 35 mm in front of the Vertical Plane (VP).
Show the front view (p') above XY and the top view (p) below XY. Dimension both distances from the XY line.
| Given | Value | Projection |
|---|---|---|
| Distance above HP | 25 mm | Front view (p') is 25 mm above XY |
| Distance in front of VP | 35 mm | Top view (p) is 35 mm below XY |
Objective:
| Requirement | Details |
|---|---|
| Commands used | XYLine, UCS, Point, Line, DimLin, Text |
| Line thickness | Normal for XY line, projector, and dimensions |
| Entity Snap | ON throughout |
Step-by-Step
1) Prepare Drafting Settings
-
Set Line Thickness: Click Normal from the thickness buttons (Thin / Normal / Thick)

-
Enable Snaps: Turn Snap ON and Entity Snap ON from the status bar

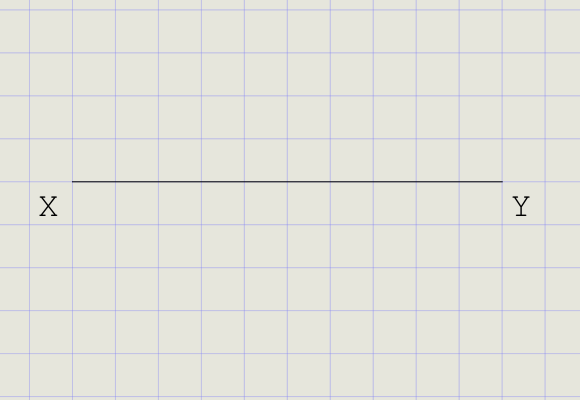
2) Draw the XY Reference Line
- In the Line dropdown menu, click XY Line
- Pick a start point on the sheet (roughly centered)
- Move the cursor horizontally and click to set a length (e.g., 160 mm)
- This is your XY reference line -- all distances are measured perpendicular to it
Note
The XY line represents the intersection of the Horizontal Plane (HP) and Vertical Plane (VP). Front views go above; top views go below.
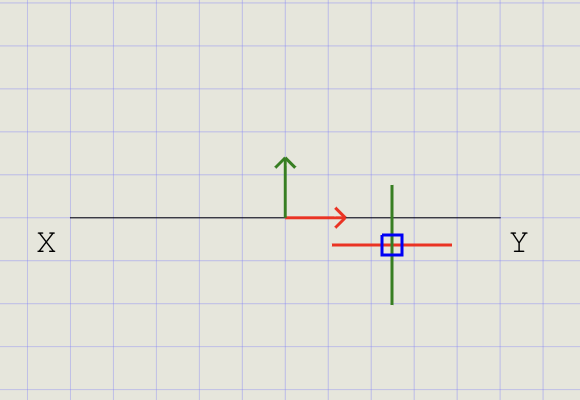
3) Move UCS to the Midpoint of XY
- Click UCS on the toolbar
- Hover over the XY line until the Midpoint snap glyph appears, then click
-
The UCS origin (0,0) is now at the midpoint of XY
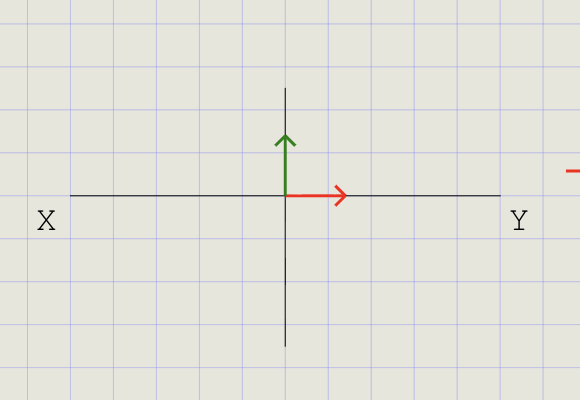
Axis Direction X-axis Along XY (horizontal) Y-axis Perpendicular to XY (vertical)
4) Draw the Projector (Perpendicular to XY)
- Click Line on the toolbar
- First point: snap to the UCS origin (midpoint of XY)
- Second point: draw a vertical line approximately 25 mm above XY
- Repeat to draw a vertical line 35 mm below XY
- These verticals are your projectors
Tip
With Ortho ON, the projector line is guaranteed to be perfectly vertical (perpendicular to XY).
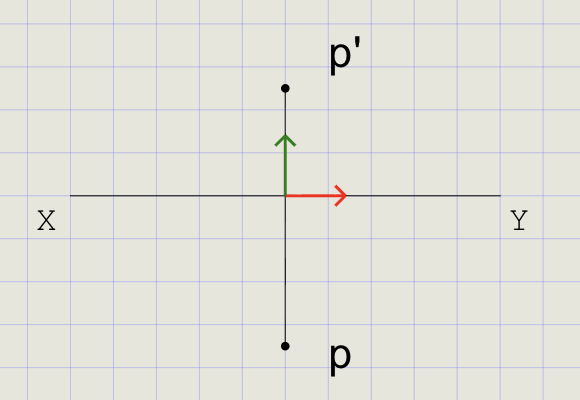
5) Mark the Front View (p') and Top View (p)
Place points along the projector, measured from the XY line using coordinates.
p' (Front View) -- 25 mm above XY:
- Click Point on the toolbar
- Type
0,25in the command prompt and press Enter - A point marker appears 25 mm above XY
- Use Text to label this point as p'
p (Top View) -- 35 mm below XY:
- Click Point again
- Type
0,-35and press Enter - A point marker appears 35 mm below XY
- Use Text to label this point as p
Coordinate reference
Coordinates are relative to the UCS origin on XY:
| Direction | Meaning |
|---|---|
| Positive Y (+) | Above XY (front view) |
| Negative Y (-) | Below XY (top view) |
6) Dimension the Distances from XY
Use linear dimensions to annotate the 25 mm and 35 mm distances from XY.
Dimension p' (25 mm):
- Click Dimension (DimLin) on the toolbar
- First extension point: snap to the UCS origin on XY
- Second extension point: snap to p'
- Place the dimension text neatly to the side
Dimension p (35 mm):
- Start DimLin again
- First extension point: snap to the UCS origin on XY
- Second extension point: snap to p
- Place the dimension text below
Tips
| Tip | Reason |
|---|---|
| Turn Snap OFF before picking exact points | Avoids mis-snapping to grid instead of entity |
| Keep thickness at Normal for dimensions | Consistent line weight throughout |
| Use Midpoint and Endpoint snaps | Precise projector placement |
| Dimension style follows active style | Set style in Dimension Style Manager before dimensioning |
Result Checklist
| Item | Status |
|---|---|
| XY line drawn with Normal thickness | |
| UCS origin at the midpoint of XY | |
| Projector line drawn perpendicular to XY (Normal thickness) | |
p' placed 25 mm above XY using 0,25 |
|
p placed 35 mm below XY using 0,-35 |
|
| Two DimLin dimensions from XY to p' and to p |
Variations (Practice)
| Variation | What to try |
|---|---|
| Different distances | 40 mm above HP and 20 mm in front of VP |
| Different UCS position | Place UCS at a different location on XY and repeat |
| Other quadrants | Try 2nd, 3rd, and 4th quadrant cases -- note where p and p' fall relative to XY |
| Multiple points | Project 2-3 points on the same XY line |
Commands Recap
| Command | Purpose |
|---|---|
xyline |
Draw the XY reference line |
ucs |
Move UCS origin to midpoint of XY |
line |
Draw the projector perpendicular to XY |
point |
Mark p' at 0,25 and p at 0,-35 |
dimlin |
Place linear dimensions for 25 mm and 35 mm |
text |
Label points p' and p |
| Format | Normal thickness for all construction and dimensions |
Complete
You've completed the projection of a point: a clear XY line, projector, and correctly located front and top views with dimensions. Export to PDF to verify and share your work.